The Best Micro SD Cards For Your Phone & Tablet
If you’ve got a mobile, then chances are that at some point storage has been an issue for you. Smartphones are great, but extra memory costs extra money. Yet we all like to pack our phones full of photos, music, videos, and apps. SD cards could be the answer to your problems. Why? How? What? Don’t worry, we’ve got the answers to all your questions and more.
Table of Contents
What’s an SD Card?
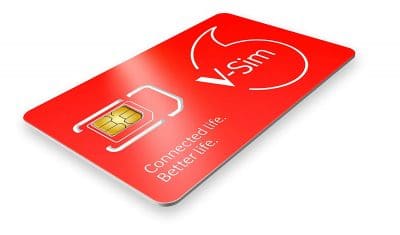
An SD card looks an awful lot like a SIM card. It’s a small plastic thing that hopefully will slide into your phone. An SD card is extra memory, sometimes called external memory, that will let you boost the memory capacity of your phone. They come in all kinds of shapes and sizes, but we’ll get to that later.
Can I Use an SD Card With My Phone?
Boosting your memory capacity sounds pretty good, but not all phones will accept an SD card. Apple’s iPhones, for example, never include an SD card slot. Most Androids do have space for a memory card. However, you’ll need to check your phone manual or look up the specs online for your model to be sure.
Size? Speed? Capacity?
Okay, things are about to get a little confusing for a minute, so bear with us. There are three specs that SD cards have, size, speed, and capacity. And if you’re going shopping, then you’ll need to know exactly what you’re looking for. We’ll explain these specs below, but if you’re looking for SD card recommendations, then you’ll find those at the end of this article.
Size
Just like SIM cards, SD cards come in different sizes, depending on what they’re going to be used for. This is the simplest spec of all. If you’re planning on using your SD card in your smartphone then you’ll need a Micro SD. None of the other sizes will fit, so make sure you’re getting Micro!
Speed
SD cards also come in different speed classes, 10, 6, 4, and 2. This is usually marked on the package as the number inside a capital C. You might also see Ultra High-Speed SD cards, which come marked as 1 or 3 inside a capital U, but these are mostly for professional use only, and you don’t need to worry much about them. Of the normal speed classes, 10 is the fastest and is used by photographers for digital cameras. For a phone you should be looking at either 4 or 6. 2 is an older standard and a little slow for modern phones, but you’ll be fine with 4 or 6 (and probably won’t notice much difference between them, so you can go with whatever’s cheapest).
The exception to this is if you want to use your card as internal storage (we’ll explain that below, don’t worry), in which case you should go for the Ultra High Speed 1 class of card.
Capacity
Finally, there’s capacity. Since this is the memory, SD cards come in familiar numbers: 32 GB, 64 GB, 128 GB, 256 GB and so on. This number basically tells you how much stuff you can store on your card, with higher numbers meaning more storage. Your phone will have a maximum limit for SD cards, so again you’ll need to Google your model or check your manual. You’re fine going with an SD card that’s lower than the maximum limit for your phone (though you’ll have less storage), but don’t exceed that limit.
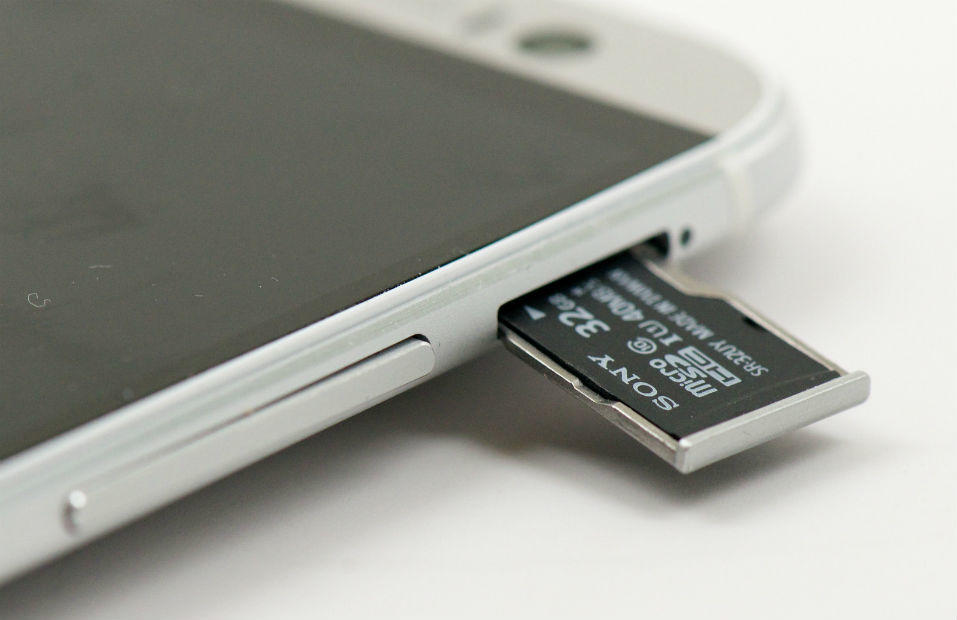
Mounting Your SD Card Part 1
Once you’ve chosen your card, you’ll need to actually put it in your phone. The first part of this should be relatively easy, though the method does depend on the phone. Usually, you’ll need to pop open a tray in the side of your phone and slip the card into a slot in the same way that you do with your SIM card. Some older phones may still need you to remove the battery and place the card inside the phone itself. Again, your best bet is to check your manual or Google your phone to find the exact method if you’re not sure.
Once you pop that card in, a notification should appear on your phone screen, and you’ll need to press “set up.” And then you’re going to be presented with two options,
Mounting Your SD Card Part 2
And here’s where things get a little complicated again. Simply inserting the card into your phone isn’t enough, now you’ll actually have to “mount” it, which basically just means tell your phone that the card is there and what you want done with it. You’ve got two options here, you can mount as portable or internal storage. The choice is up to you, and we’ll explain a little more about each below.
Mounting as Portable Storage
Portable storage is the most popular choice, because it lets you easily transfer files between your phone and somewhere else. For example, if you want to be able to easily load music from your computer to your phone, or photos from your phone to computer, then portable storage is the way to go. Most people choose this option even if they don’t plan on moving files around, since it doesn’t require a more expensive Ultra Speed SD card.
The downside to choosing portable storage is that your phone won’t allow you to store some things on your SD card. Your operating system (which takes up a bunch of memory) will be kept on your phone storage, and in many cases apps will also be kept on your phone storage (rather than on the SD card). Generally, this shouldn’t be a problem. But if your storage woes are due to the fact that you have a bunch of big apps, then you might want to opt for internal storage instead.
Mounting your card as portable storage is easy:
- Pop the card in, hit “set up” on the notification that appears, then hit “use as portable storage”
- A new notification will pop up, and you can hit “explore” if you want to see what files are already on the SD card. Since this is a new card though, there shouldn’t be anything there, so just cancel out of the notification.
- Now go to your regular settings menu and choose “storage and USB,” then hit the name of your SD card. This opens up the Android File Manager and from there you can transfer files from your phone to your SD card.
It’s best to transfer photos, music, videos, things that you may in the future want to move to your computer and that free up space on your phone’s memory. Your phone will not let you move certain files around, and you’ll get a notification if you try to do so, so you really can’t mess this up!
Mounting as Internal Storage
Using your SD card as internal storage just means that you’re adding to the memory of your phone. You won’t be able to use the card to move files around to and from your computer, as you can with portable storage. However, your phone may allow you to use the SD card to store data that you wouldn’t be able to store in portable settings (such as some apps, for example). You should use this method if you don’t want to mess around and just want more memory on your phone.
The downside here is that you will need one of those pricier Ultra High-Speed SD cards. If you put a card into your phone and a notification pops up to say that it’s too slow, then you’ll need to either mount it as portable storage or go and buy a faster card.
Mounting as internal storage is pretty easy though:
- Pop in the card, hit “set up” on the notification that appears, then hit “use as internal storage.”
- Your file explorer should then pop up and you can use this to move files over to your SD card freeing up space in your phone’s regular memory.
- If you want to move more data around later, just go to the settings menu on your phone, choose “storage and USB” then hit the name of your SD card, open up the menu (usually three dots at the top right corner) and select “migrate data.”
Done!
Help, I Screwed Up!
If you choose the wrong option, or you decide you want to switch between portable and internal storage, it’s easy to fix. But, and this is a big but, switching from portable to internal or vice versa will ERASE everything that you have on the SD card, so you might want to think twice (and back stuff up).
Go into the settings menu of your phone and tap “storage and USB,” then hit the name of your SD card. Open the menu (usually three dots in the top right corner) and then hit “settings” and either “format as internal” (if your SD card is currently in portable mode) or “format as portable” (if you’re currently in internal mode).
What’s All This About Moving Files?
One of the biggest advantages of having as SD card that’s set to portable storage is that you can use it to move files around between your phone and your computer. This is pretty handy if you’ve taken loads of holiday pics and want to quickly move them to your laptop. Or if you want to transfer a bunch of music from your computer to your phone.
Before you can do this you’ll need to make sure that your computer or tablet can read the SD card. Some laptops and many tablets already have an SD card slot. If yours doesn’t then you can buy cheap SD card readers that let you slide in the SD card and then plug directly into your computer through another port. All you need to do is pop the card out of the phone and into your laptop or computer and then open file explorer.
However, you can also do this without removing the card at all. If you’ve got a Windows PC or tablet then this is extra simple. Using a USB cord plug your phone directly into your computer. File Explorer should open up and a notification should pop up on your phone, on your phone hit something like “transfer mode” and you can move files around.
If you’ve got a Mac then you can do the same thing, but first, you’ll need to download an app called “Android File Transfer” onto your computer. Once you hit the “transfer” option on your phone’s notification screen, Android File Transfer should open automatically.
Bonus Tips
There are a couple of best practices that you should remember if you’re using an SD card on your phone:
- Don’t move apps that you use daily onto your SD card. Your card will always be a little slower than your phone, so you want those daily use apps to be on the phone itself where they can open and run more quickly. The same goes for apps that may require speed, such as photo editing apps.
- Always have a back up. SD cards are not perfect, they can and do frequently fail. An SD card is NOT a back up system in and of itself, so make sure you have a copy of any important stuff stored elsewhere.
- If you have an SD card that you’re using as internal memory do NOT take it out. Doing so could mean losing everything on the card. If you need to take out the card (if you’re changing phones, for example) you’ll probably need to switch it to portable mode first. Before doing so, transfer any files you don’t want to lose to your phone’s memory, then change the SD card to portable mode, then you should be able to pop it out normally.
The Best Micro SD Cards for Your Phone
Which card you should go for really depends on what kind of speed you want, whether you using it as portable or internal storage, and what capacity you need. But we do have a few recommendations of the best SD cards to get you started:
128 GB Samsung Evo Select
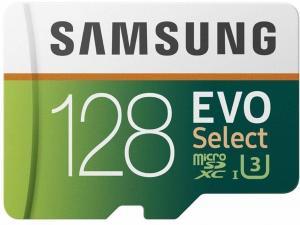
If you’re looking for a decent, mid-range, all around SD card, then the Evo Select should more that fit the bill. You get a solid 128 GB of extra storage space, which is enough for a whopping 27,000 photos. And it’s Ultra High-Speed class 3, so you don’t need to worry about using it for internal or portable storage.
The only downside here is that it’s a little pricey. It’s not the most expensive card around at around £40 or so, but it’s certainly not the cheapest. Having said that, given its high-speed class and big storage capacity, it’s unlikely that you’re going to be buying another SD card anytime soon, so it should be a one-off investment.
64 GB Sandisk Ultra
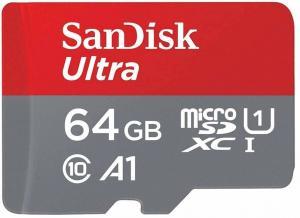
A far cheaper option that does present a couple of compromises is the Sandisk Ultra 64 GB card. It gets decent speeds, Ultra High-Speed Class 1, so you should be able to use it for anything (all but super top end phones should accept this as internal storage). It’s also very affordable at around £12, so not a big investment at all.
The disadvantage here is the capacity. When it comes to SD cards, bigger really is better, especially since there tends to be only a small price difference between sizes. 64 GB is fine, probably more than enough for most people, but if you’re worried, you might want to opt for something a bit bigger.
400 GB Sandisk Ultra
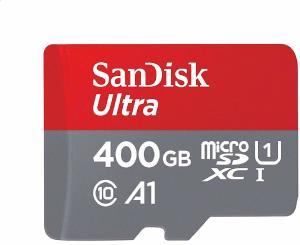
We’re not going to lie, this is one pricey bit of kit. However, if you’ve got a top end phone that capable of taking tons of extra memory (like Samsung Note 9, for example), then this card is the one for you. It’s Ultra High-Speed class 1, so super fast. And with a massive 400 GB of storage, it’s got more space than you’ll know what to do with. If you never want to worry about storage again, then this could be a worthwhile investment.
The obvious downside here is the price. At around £130, this card doesn’t come cheap. Again though, it’s huge, and the cost of the card is definitely cheaper than buying a new phone with more space, so it could be a trade off.
32 GB Kingston Digital
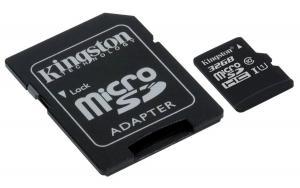
On a budget? Don’t worry, you can still get a decent SD card. This Kingston Digital model still gets you Ultra High Speed Class 1 status, so you should be able to use it for internal storage as well as portable storage. And better yet, it’s only around £6, which should be more than affordable for most people.
The trade off that you have to make here though is capacity. At just 32 GB, the Kingston Digital SD card isn’t going to be storing tons of data. However, if you’re just looking for a little wiggle room when it comes to extra space, then this could be a great budget option.